
在 Java Web 开发过程中,不免会遇到图片上传的场景。本文提供了一套完整的解决方案,解决 Tomcat 重新部署时图片资源丢失的问题。
问题描述
第一个问题:虚拟路径问题
在 Tomcat 上部署的项目获取到的是 webapps 下面的路径:
// 上传后的临时存储的路径
String filePath = request.getSession().getServletContext().getRealPath("blogImages");
第二个问题:重新部署导致资源丢失
Tomcat 在项目重新部署时会先将 webapps 下面全部清空,然后解压 war 包重新启动,此时之前的图片资源就会丢失。
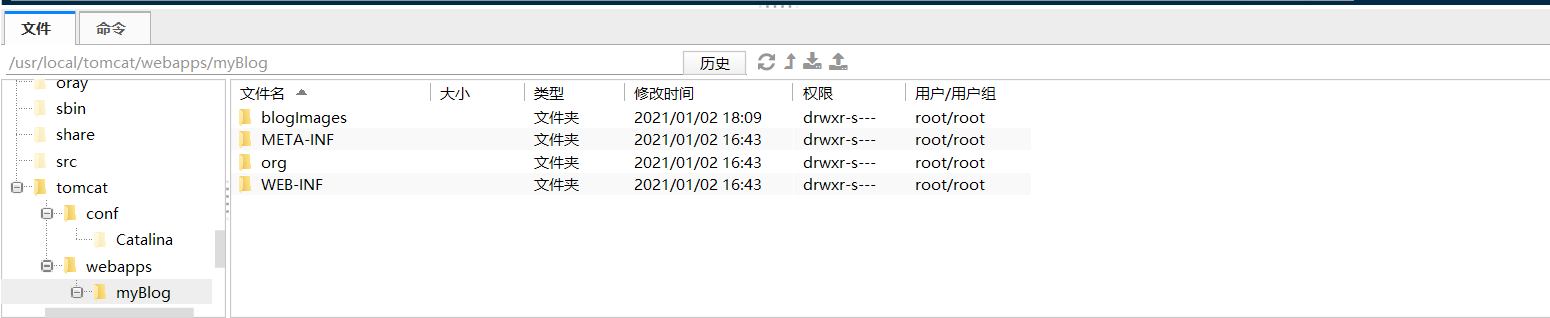
- 重新部署之前:图片资源文件夹
blogImages存在
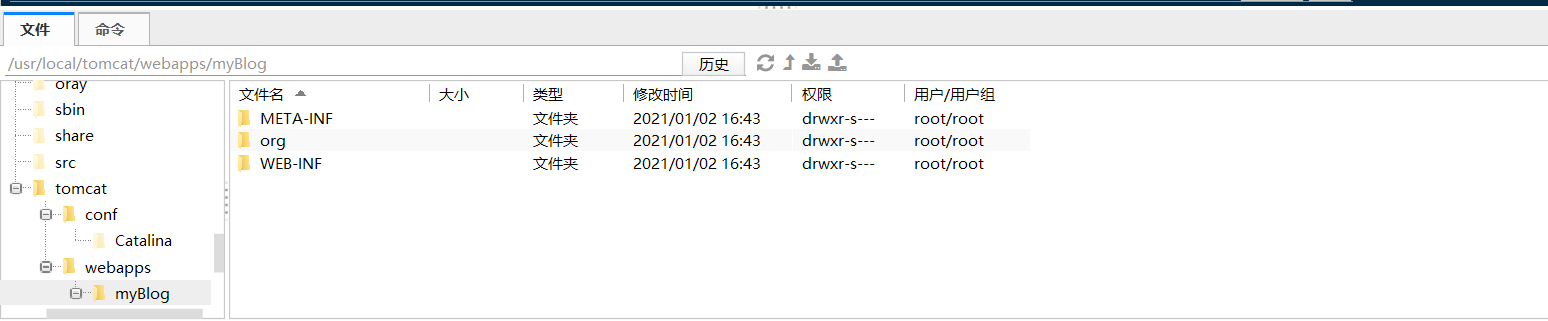
- 重新部署之后:图片资源文件夹
blogImages不存在了
解决方案
第一步:双重存储策略
在图片上传时,同时保存到两个位置:临时路径和服务器本地磁盘路径。
完整的上传代码:
@PostMapping("/fileUpload")
public List<Map<String, String>> fileUpload(@RequestParam(value = "file") MultipartFile file, HttpServletRequest request) {
    // 原始文件名
    String fileName = file.getOriginalFilename();
    assert fileName != null;
    // 获取后缀名
    String suffixName = fileName.substring(fileName.lastIndexOf("."));
    // 上传后的临时存储的路径
    String filePath = request.getSession().getServletContext().getRealPath("blogImages");
    // 生成一个新文件名
    fileName = UUID.randomUUID() + suffixName;
    // 每一天生成生成日期目录,方便管理
    String fileAdd = new SimpleDateFormat("yyyyMMdd").format(new Date());
    //获取文件夹路径
    filePath = filePath + File.separator + fileAdd + File.separator;
    log.info("path:{}", filePath);
    File dest = new File(filePath + "/" + fileName);
    // 先判断文件是否存在
    if (!dest.getParentFile().exists()) {
        boolean mkdirs = dest.getParentFile().mkdirs();
    }
    String src = dest.getAbsolutePath();
    //根据自己系统的resource 目录所在位置进行自行配置 F:\IdeaProjects\blog\src\main\resources\static\images\blogImages
    String destDir = System.getProperty("user.dir") + File.separator + "src" + File.separator + "main" + File.separator + "resources" + File.separator + "static" + File.separator + "images" + File.separator + "blogImages" + File.separator + fileAdd + File.separator;
    File destFile = new File(destDir + fileName);
    try {
        file.transferTo(dest);
        if (!destFile.getParentFile().exists()) {
            boolean mkdirs = dest.getParentFile().mkdirs();
        }
        copyFile(src, destDir, fileName);
    } catch (IOException e) {
        e.printStackTrace();
    }
    String imageSrc = "/static/blogImages/" + fileAdd + "/" + fileName;
    log.info("imageSrc:{}", imageSrc);
    List<Map<String, String>> result = new ArrayList<>();
    Map<String, String> map = new HashMap<>();
    map.put("imageSrcValue", prefixRequestUrl + imageSrc);
    map.put("imageSrc", prefixRequestUrl + imageSrc);
    result.add(map);
    return result;
}
文件复制方法:
/**
 * 文件复制
 *
 * @param src
 * @param destDir
 * @param fileName
 * @throws IOException
 */
public void copyFile(String src, String destDir, String fileName) throws IOException {
    FileInputStream in = new FileInputStream(src);
    File fileDir = new File(destDir);
    if (!fileDir.isDirectory()) {
        fileDir.mkdirs();
    }
    File file = new File(fileDir, fileName);

    if (!file.exists()) {
        file.createNewFile();
    }
    FileOutputStream out = new FileOutputStream(file);
    int c;
    byte buffer[] = new byte[1024];
    while ((c = in.read(buffer)) != -1) {
        for (int i = 0; i < c; i++) {
            out.write(buffer[i]);
        }
    }
    in.close();
    out.close();
}
这样会在服务器本地磁盘路径上保留一份图片副本:
/usr/local/tomcat/src/main/resources/static/images/blogImages
第二步:配置 Tomcat Context
- 找到 Tomcat 配置目录:
cd /usr/local/tomcat/conf/
- 修改 server.xml 文件:
vim server.xml
- 在
<Host>标签内添加<Context>配置:
<Host name="localhost" appBase="webapps"
unpackWARs="true" autoDeploy="true">
<!-- 配置外部静态资源映射 -->
<Context docBase="/usr/local/tomcat/src/main/resources/static/images/blogImages"
path="/myBlog/static/blogImages"
reloadable="true"/>
<!-- Access log processes all example.
Documentation at: /docs/config/valve.html
Note: The pattern used is equivalent to using pattern="common" -->
<Valve className="org.apache.catalina.valves.AccessLogValve" directory="logs"
prefix="localhost_access_log" suffix=".txt"
pattern="%h %l %u %t "%r" %s %b" />
</Host>
总结
通过以上两步操作:
- 将上传的图片同时保存到临时路径和服务器本地路径
- 配置 Tomcat 的 Context 映射外部静态资源
重启 Tomcat 后,即使重新部署应用,图片资源也不会丢失,因为它们存储在 Tomcat 外部的固定路径中。